
Hello on this September Monday!
I have piles of old hard cover books that I keep buying every time I go to a flea market. They are various sizes and thickness and sometimes the paper is amazingly thick and perfect for art journaling but ... I think the best treat is always the cover! I just love me some fabric covers!!!
So with this in mind, I'd like to share with you an altered book cover.

I started from a 1956 version on 'Plea for a Simpler Life' by George S Keith - absolutely nothing special about the book itself apart from... yes, the fabric cover!

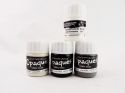
The first layer on the background was created using the Black, White and Mid Grey Opaque Fabric Paints - just keep playing with all three shades until you achieve something that you like. I was aiming for an irregular shading on which the mists added later on will be showing off their shine and colours. I put it aside to dry thoroughly.


While the cover was drying, I went on to make the wings for my little salvage doll (Tim Holtz). I cut the shape from Lutradur fabric ready for painting.

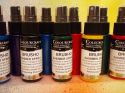
To colour, I used Brusho Shimmer Sprays: Turquoise and Gold.

Once I was happy with the colours, I used my heat gun to dry - here's the result. The awesome thing about Lutradur is that it gains dimension as it's heated. Perfect for the wings!

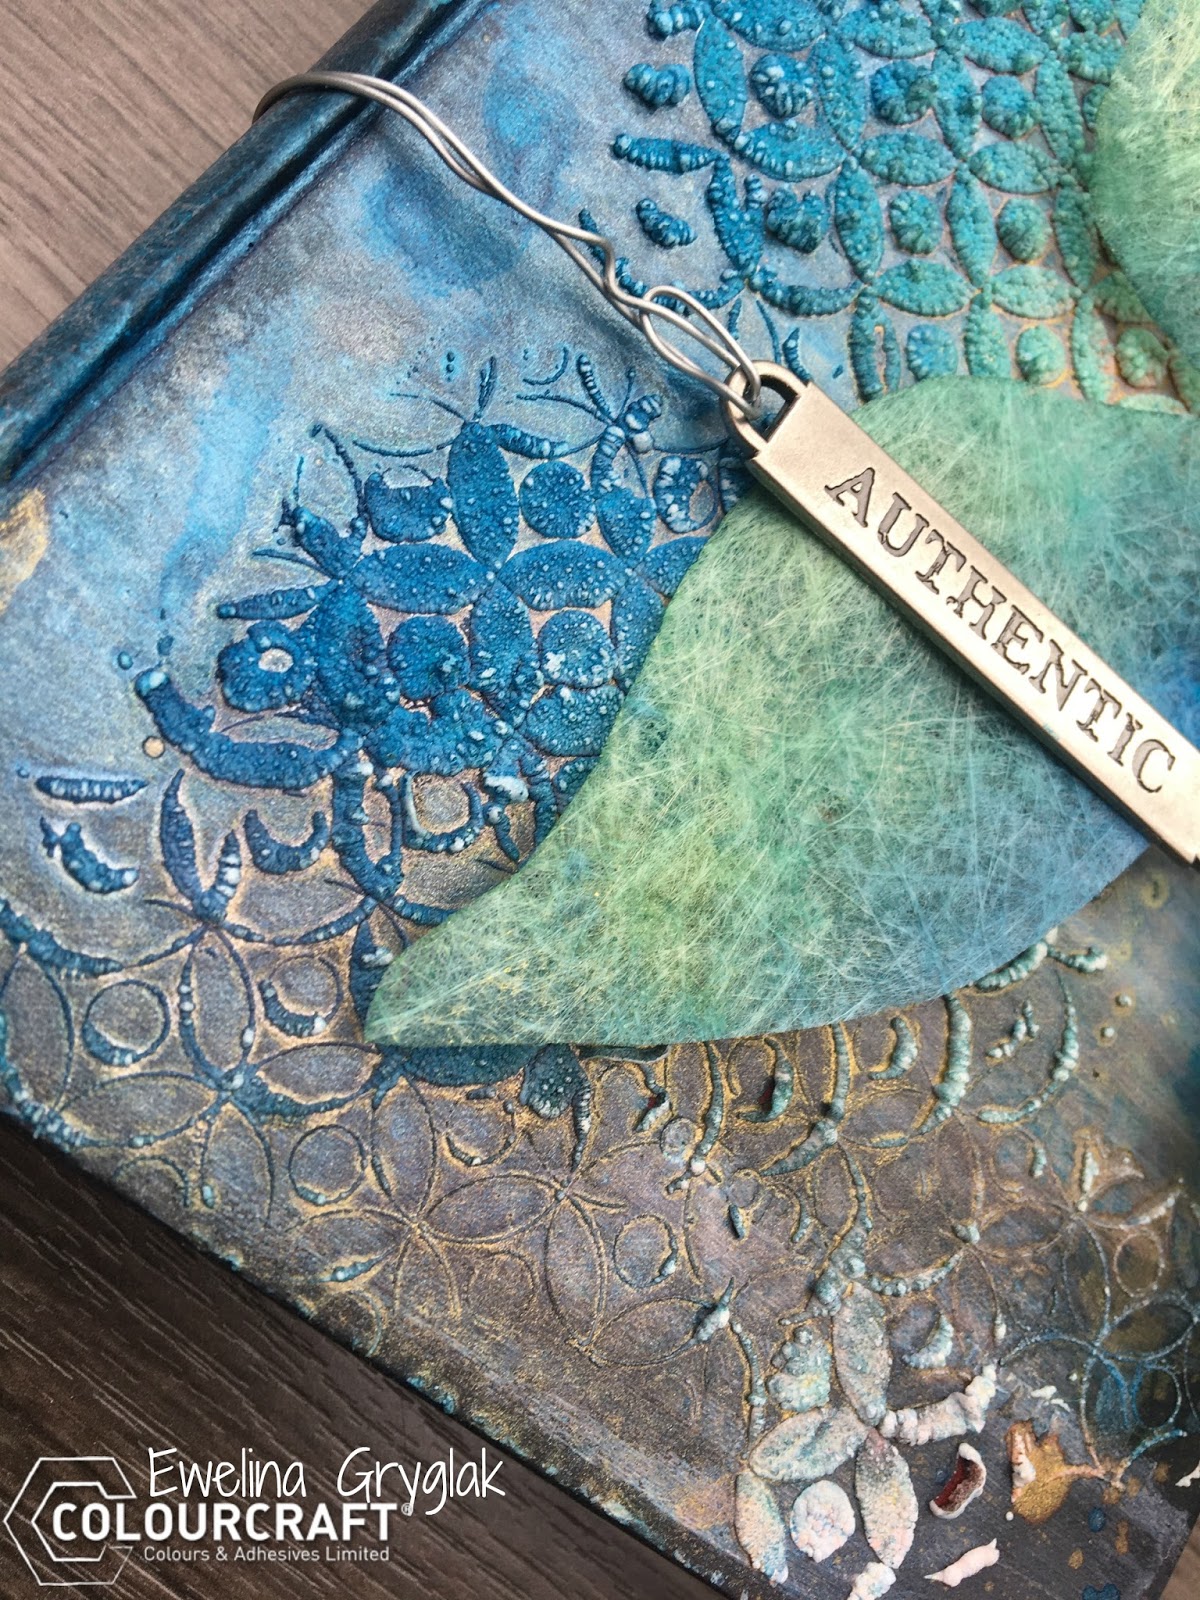
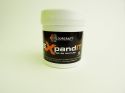
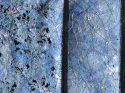
Once the base dried, I used the ah-may-zing! ExpandIT medium which I run through a stencil - again, I didn't want the design to be regular so I just kept adding small amounts of the medium with a small palette knife until I was satisfied with the outcome. Once happy, dry the medium with your heat gun - remember not to overdo it as you will burn the bubbles and make them brown!

Now that my bubbly design was ready, I used The same Brush Shimmer Sprays as I used for the wings. I sprayed Turquoise from the left and Gold from the right allowing them to meet and blend in the middle of the cover. You can dry it with a heat gun but make sure you don't burn your bubbles!

Now all the elements are ready, it's time to assemble them together.
First, attach the wings and the salvaged doll using hot glue gun. It might be an idea to wait a couple of seconds for the hot glue to slightly cool down so that it doesn't melt the wings.

Then add a metal tag and attached using metal wire. I used Tim Holtz Idea-ology 'Authentic' tag.
That's it! Your cover is ready!

I hope you enjoyed the process and will have a go yourself at altering some old book covers. It really is fun!

Thank you for spending your time with me!
 |

 |
 |
 |
No comments:
Post a Comment